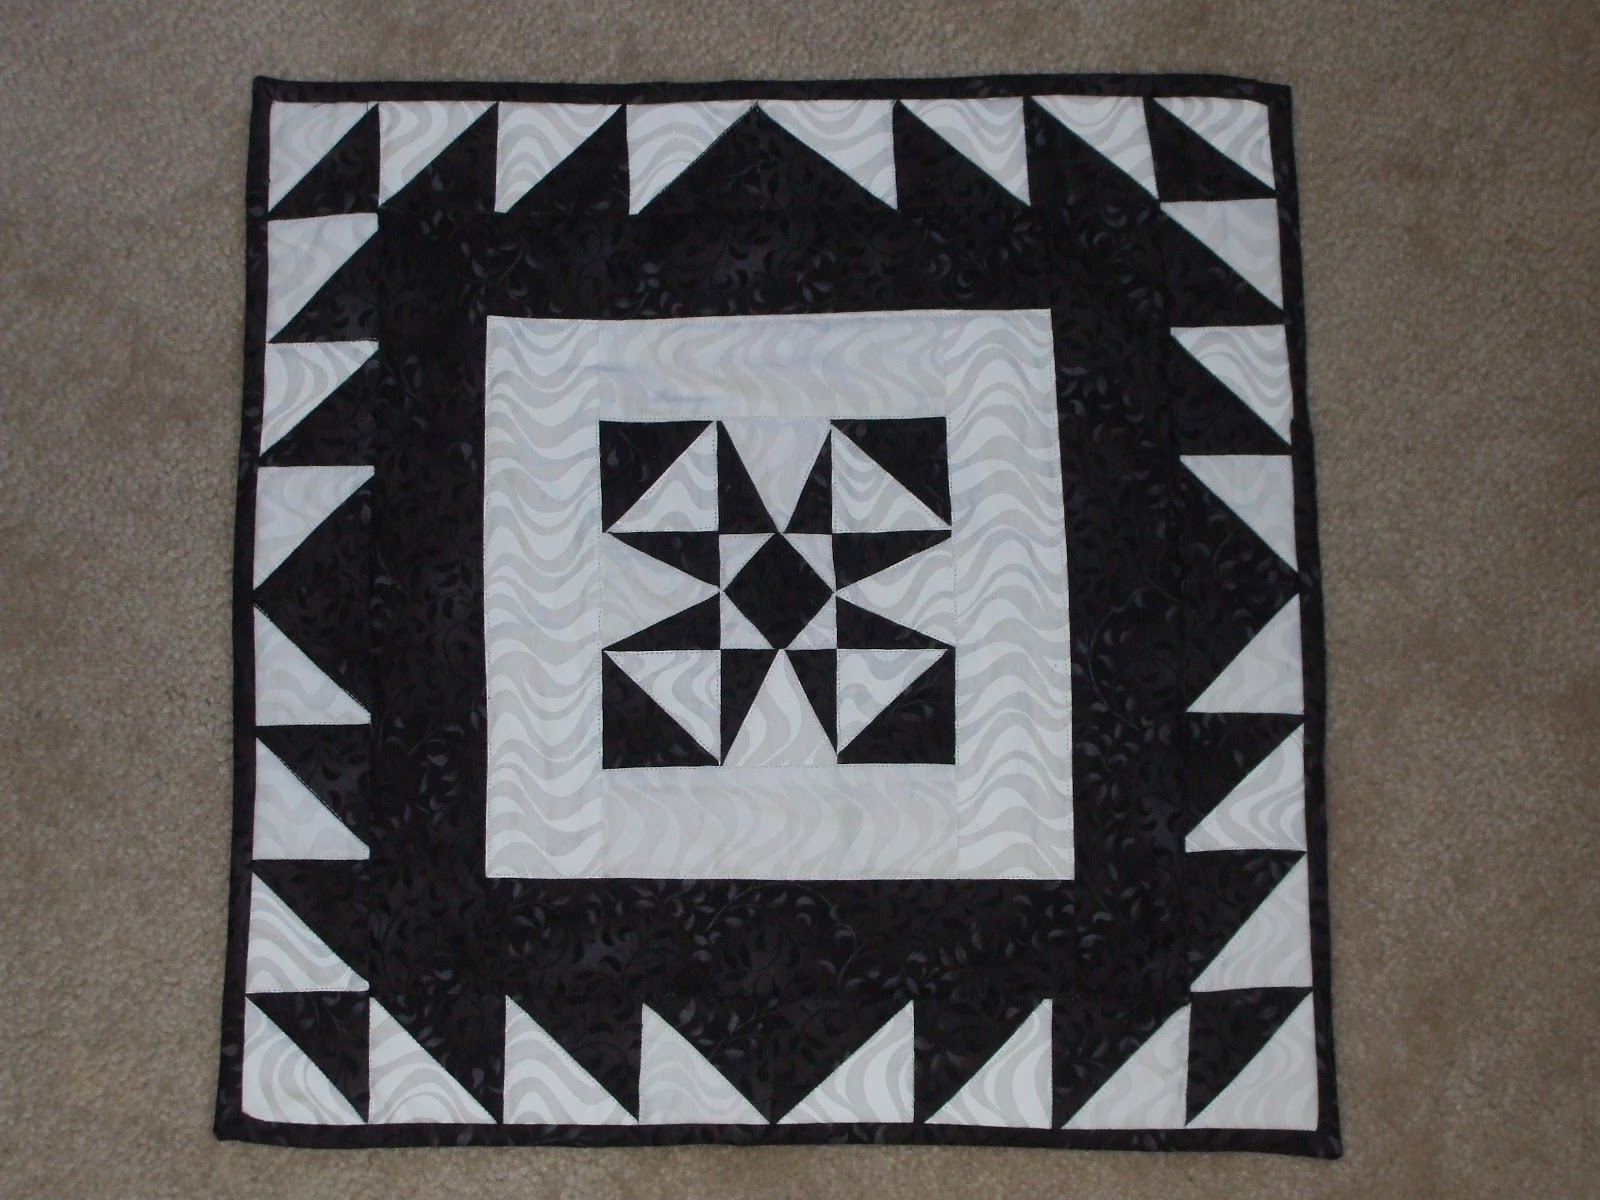
Friday, December 20, 2013

Is it Organized or is it Camouflaged?

If you blink, you missed it...the sewing room was organized for about an hour or so last week...but the new found sense of freedom has unleashed a creative frenzy. And in that frenzy, I have been pondering some of the newfound insights this version of the re-do has brought forth.


I've been quite surprised to read as many quilters on Facebook mentioning a sewing room redesign/cleanup in December as I have.  Earlier in the process, I thought I was the only one who was crazed enough to tackle a project of this size this month...apparently, I'm in very good company.  I'm of the opinion that we all need to take January off. I know the first picture below is blurry...your photographer had had too much caffeine. 


Before I started this makeover/rescue project (like that name?), I would take a project, or a potential project, pull fabric from the stash, the project instructions,  whatever other embellishments struck my fancy, put them into one of my bins, label it (at least I did that!) and then put the bin into the closet.  That might sound efficient - but the system fails when the potential projects begin to celebrate birthdays.  And (unless you look into the bins on a regular basis), you forget what is in there. 


Lather, rinse repeat that failed system...and I had a totally dysfunctional stash.  I couldn't find anything I had, and I was blocked creatively. I knew I had fabric, or a given project  - I just couldn't find it, and it was a pain to look for it.
So here's where I did a complete overhaul - I took a completely honest look at the Project pile and made a decision to finish it - or repurpose it somehow.  I am fortunate to belong to 3 different guilds, and each of their charity projects received donations; I also have a sister in law who's a newbie quilter, so in that case, I texted her to ask what colors she was collecting in her stash, and shared the wealth with her.  It seemed so much easier to look at the rest of the room without the guilt that I was carrying around.  The projects to be finished are now easily accessible...and they're going into the calendar.  I did not say into 2014 or 2015...but they are going into the calendar.

I took apart two projects, reclaimed the fabric and moved on to the fabric part of the collection.

The first thing I learned is that I am NOT a fat quarter kind of gal...by looking at the picture of the new shelves that were installed, it's pretty obvious that I'm into yardage.  I do have a secondary storage unit here in the office, which has three drawers.  I split that space between my fat quarter collection for cottons, and my batik yardage.  The good news is that if I had spent my dollars in fat quarters, the stash would be four times the size...and beyond what the space  can handle.  I love yardage...I refuse to think there's a downside.
I folded ALL the yardage in the space using my 6 x 24 inch ruler as a guide.


 It gave me the opportunity to stack and sort the various hues in the stash in a uniform manner.  For both the batiks and the cottons, I did sort the yardage into one yard cuts and two yard cuts...for some reason, there is very little middle ground.  Once I put the fabric into the new shelves, I could see the 'holes' in the color wheel.  That was the biggest indication of the changes I saw in how I use the stash...I also saw the fabric I have in a whole new light.  I saw tons of teal, but little navy; lots of green, but no purple.  It turns out, I do have a lot of purple in the fats, but not in the yardage - before this, I wouldn't have known that. 

Come back next week for the rest of the story...I have a quilt (that I started when I redid the room) to bind today. Enjoy! 

Wednesday, December 11, 2013

It's amazing how much happiness you can buy for $23.16


I don't know how, but one of the most memorable events of 2013 is going to be the Great Sewing Space Redo (version 4.5).  I am fortunate to have the second bedroom in the house serve as the combined office/studio space, and it has wonderful light. That's where I sew now - it hasn't always been this large or this sunny. And even though the space is generous, it had layout issues (well, up until Thanksgiving weekend it did).  Kids, I don't recommend doing this on top of every thing else the weekend after Thanksgiving - but I often find the long way around the barn.

I've recently come into possession of about 30 odd years of photo albums and memorabilia - my mom has downsized and I brought them home until we could figure out what to do with them. The plan is to scan them into the computer, and then make a memory book with them.

Problem #1 (solved) was that the ironing board was a permanent fixture in front of the scanner...not much of an issue when you scan once or twice a week, but when you're looking at the volume I am, it is a problem. Mike solved that by retrofitting my cutting area with a discarded island that now serves as both cutting and ironing...and since we had everything in storage, it was a $0 makeover...love that.


With the path to the scanner cleared, I'm not exactly sure what led to the next step. The fabric storage issue. I had a plan in place about 3 years ago, but 3 years worth of fabric accumulation had outgrown the amount of storage I had. I'm almost embarrassed to share the before picture...
This storage unit started life as a part of our family room - my sons will remember when it was painted Barn red, and the bins held puzzles and matchbox cars. The space underneath was designed by my husband so that they could 'park' their riding toys at the end of the day. I LOVE this unit in the sewing room because it now provides easy access to my rolling cases for machines to take to classes.  And with the new paint, peg board on the side(s) and a new shelf on top...it was perfect. I even added a curtain rod to go in front of the open space...to protect the fabric from sunlight. Or to protect the innocent (?) from dealing with the effects of too much fabric.

When I removed the curtain, this was laid bare in all it's ugliness...with no blue and no batiks visible (there's a large pile on the floor, out of camera range), I knew this had long ago become a mess. My husband is quite handy, and I casually mentioned over coffee in the morning that I needed to hire a handyman, because I needed some shelves built.

One trip to Home Depot, and $23.16 later, we had a solution in the same storage unit. This might be the old gal's best facelift yet.  We now have a large pile of blues on the second shelf, and the batiks have an entire dresser to themselves. Even I was amazed to learn how much yardage I had.  I'll talk about what I did with the other cuts later, but now I want to bask in the neatness. It won't be this neat for long...


For now, I leave you with this Christmas-y corner of the sewing room.  The next blog installment will be..."Hello, my name is Linda and I'm a Bin-o-holic".


Wednesday, November 27, 2013

Thanksgiving wishes for you all!

I always love participating in blog hops, and this one was no exception. I received a lot of wonderful responses to the question about Downton, and I loved reading them. I have many things to be grateful for this holiday season, and my wonderful customers and readers are tops on the list.  I wish for you the chance to take a few minutes tomorrow to spend time on you - whether your creative endeavors are quilting, cooking (amazing how related those two can be), decorating, or relaxing and visiting.  I confess - this is a downgrade year for me (while I am hosting it, my kids and their spouses are doing the majority of the cooking...so I'm a little at loose ends.

I am very happy to the response that Hello, Gorgeous! has received. If you would like a copy of the pattern, you may purchase it directly from me by emailing Linda@thepatchworkpearl.com.  I am having it placed on my website (but that's a work in progress).  The cost of the pattern is $9.00.

I know that Friday (or late Thursday night in some places) is the start of the holiday shopping season, and I wanted to let you know that The Patchwork Pearl also offers Gift Certificates for those of you who want to give hints to your loved ones.  The Gift Certificates do not expire, and allow them to contributions towards an event that you'd like to attend. Gift Certificates are available in any denomination by emailing Linda@thepatchworkpearl.com.

Thursday, November 21, 2013

Downton Fabric - Something new for you!

Good morning from chilly New Hampshire - and welcome to those of you who are here as part of the Giving Thanks - Quilting Blog Hop Party.  I have so much to be grateful for this year, and participating helps me share that as well as give you a look to what's coming ahead in 2014.

This fall,  Andover Fabrics  introduced a new line of fabrics for quilters which is inspired by the PBS series Downton Abbey. I became a fan of the show during the first season, and noticed that whenever I was with a group of women of any size, Downton became part of the conversation.  Followers of The Patchwork Pearl will remember that in 2011, I sponsored a quilt challenge - proceeds to benefit the local PBS station - based on the Downton show.  My first Downton piece was based on the Titanic...

I've been working from my stash for most of the year in anticipation of the release of the new fabric...and it's almost here! I'm working with one of my local quilt shops to get my hands on the fabric, and to take a big risk for 2014.  I'm pleased to announce that I'll be introducing a Block of the Month program - based on the show - on Jan 6,2014.  For die-hard fans, you'll recognise this as the date that the new season starts on PBS...a sure cure for post holiday blues.

Can I say how much I love the fact that Andover brought in the costume designer from the show as a consultant to the line? That lends a sense of authenticity to the lines - the colors I've seen are actually a lot more muted than I first thought they'd be - and lets your imagination run wild with the possibilities.

I'll be publishing the overall design on the 6th, and introducing the first block at the same time - this is designed as a lap sized quilt for all skill levels.  In order to work out the kinks to the project, I am looking for Pattern Testers - people who are willing to take a look at my first drafts, make the block and give me honest feedback to it. If you are intrigued, or have ever wanted to explore what being a tester is like, please email me at Linda@thepatchworkpearl.com for more information, or post a comment at my Facebook page at

To sign up for my mailing list for more information as it becomes available (and new release information), please click here and add your name to my mailing list.

The Giveaway for the blog hop party is a copy of my newest pattern (designed to be used with the Leaves Galore Templates from Sue Pelland Designs) Hello, Gorgeous! and a yard cut of batik fabric which can be used to start your own wreath.
Hello, Gorgeous! wreath

Pattern and Fabric for the Giveaway. 


To enter the Giveaway, please leave a comment indicating which of the characters in Downton is your favorite and why.


Friday, October 25, 2013

Introducing Hello, Gorgeous!

I've definitely got a love affair going on with the traditional melon shapes. I don't know if it's the rebel quilter in me, or my need to expand outside of the current trend of 2 and a half inch strips, but it seems that most of the quilts I'm playing with use this motif in one way or another.

Case in point - meet TPP002 - named Hello, Gorgeous!

I posed a picture on a quilting group I
belong to, and asked for naming suggestions so that I could complete the pattern instructions.  I was lucky enough to receive some really interesting choices - and Hello, Gorgeous! just seemed to fit the piece. Or my mood when it came to picking one -

While both Lake Shore Magic and HG! use the melon shape in their construction, and both are made with fusible applique, there are some distinct differences, between the two.   One is made using 'old school' techniques, and the other used  brand new technology.

Lake Shore Magic was originally made and drafted using template plastic and a marking pencil to cut the melons out.  Hello, Gorgeous uses a similar shape, but in this case I used one of Sue Pelland's Leaves Galore templates, the petite size.


 By drawing a circle in the center of the square, you 'artistically' place your leaves in a circle to form the base, then add free standing flowers on top of the wreath.

I love working with Leaves Galore templates, and this shape spoke organically to me. My batik collection just wanted to play with the templates.

Hello, Gorgeous is available for sale at local quilt shops in New Hampshire, and this will also be available for sale on my website shortly.


I'd love feedback - I think this would work well as a seasonal (Christmas, Hanukkah) wall hanging.  What do you think?


Wednesday, September 11, 2013

Losing my Vendor's Virginity

Those of you who have known me for a while know that I am no stranger to quilt shows...I attend most of the big ones held in my area, and I've even been to the big show, the AQS show in Paducah.  However, this weekend I'm taking a huge leap for me and vending in my own name at my local guild show - Squanicook Colonial Quilt Guild, Townsend MA 09/14 and 09/15 from 10-4.  I don't usually carry a lot of 'product' per se - usually I'm more about services and events....but not this weekend.  I have several product lines (and events) which I will be talking about - and not a few tricks up my sleeve.

However, since this is my first time, I'm working on putting together a booth - which I can be proud of - on a shoestring's shoestring. Hence this morning's adventure which I want to share with you.  I lost the camera and have spent the last hour looking for it, so here goes. Display items...

One of the products which I use quite often, and which will be featured in the booth - are the Sue Pelland Designs' Leaves Galore Templates.  However, they do present a challenge to display - long, skinny - and technically, tippy.  I've spent the better part of a week worryinig about this - at 2AM a lot of the time, and finally found a frugal option.  On my facebook page last week, I posted a picture of half the studio looking a mess - with 2 red wine boxes that I got from the local liquor store.  No, I'm not reposting those pics here.

But this morning, I headed to the screen porch...


I like to work in ventilated areas when I'm working with spray baste.  Please note that I grabbed the craft scissors instead of the fabric scissors, so this was bound to be an adventure!

The quilt show has an autumn theme, so I grabbed this fabric from the stash...ok, so it fell out of the stash into my hands when I opened the door...it worked with my theme, and I decided to go with it.

I should mention here that I was told by a friend yesterday that this would be as easy as wrapping a package.  I have never worked as a wrapper at the holidays, and there's a reason for this...but so far, not too bad.


I just kept spraying and muttering under my breath...eventually, I got to the point where the spray baste had done as much as it was going to...so I was weak.  I went for reinforcements...


I'm sure we all recognize that silver roll there...duct tape.  I used it to smooth the inner portion of the fabric.  If I didn't tell you, you would never have known.

The completed display box!  Total cost - materials on hand and free liquor store box. 
I had scouted around, and found something that would have worked at Christmas Tree Shop - I tried 2 different dollar stores, and nothing there was going to work.  So I returned that item to the Christmas Tree store this morning, and we're moving on. 

I have never appreciated the work that vendors go through to set up for  a show before.


Thursday, August 22, 2013

To Prewash or Not to Prewash...I learned the hard way!

I've been a quilter for quite a long time now, and when I started out, prewashing your fabrics was the rule.  It was generally accepted practice that prewashing (and ironing) the fabric before you started removed any sizing, allowed for shrinkage and also removed any excess dye to come out of the fabrics.

Somewhere along the line, I was seduced into the belief that this was no longer necessary, as the manufacturing processes have evolved since I began quilting.  I learned the very hard way this week that this isn't necessarily so.  And I will be writing "I will prewash all my fabric" 100 times when this blog post is done.

LSM before - note the bleeding at the binding


Lake Shore Magic was hanging in a local quilt shop here in town to promote the fact that I would be teaching it later this fall.

That quilt shop had a pipe leak over the weekend, right over where they hung my quilt; the shop owner called me immediately upon finding the quilt.  I think, truthfully, she was almost as upset about the quilt as she was about the computer that was also a casualty of the pipe.


When she called me, I couldn't tell how bad it was...it is noticeable, but it's not catastrophic. But I wanted to see what I could do to repair it.  The first thing I did was spread it out to dry on my sunporch, and the second thing I did was to make a couple of inquiries.

Synthrapol - the solution of choice 
The general consensus that I got was that the correct thing to do was to submerge the entire quilt in a bath of hot water and Synthrapol.  Synthrapol is a special detergent used to remove unattached excess dye after dyeing, and I picked up a bottle in Paducah...now I know why.  The instructions on the bottle call for the hottest water that the fabric can bear - and all I could see was Lake Shore Magic becoming a pink quilt.  So I did nothing (actually, my grandpuppy came by for a visit, and provided a diversion.  I just realized that I need a picture of Bentley...he's a cute diversion. )

After much thought, and  a sleepless night...I gritted my teeth, headed to the screen porch armed with the diluted solution and Q tips.  I decided to try to spot clean the areas most affected, rather than dip the whole quilt...who knew what that was going to do.

The process is ongoing, and I will post more pics in the next post...it's currently a work in process.  I will probably always know its there, but you might not.   When I constructed the quilt, I brought a generic pile of fabric with me to work on...I probably should have realized that I was courting disaster by not prewashing the reds, but being me, I leapt before I looked or thought about it.

I am going back to being a prewash girl...always. My next big project will be a Judy Niemeyer class with loads of beautiful batik fabrics. It's time to stock up on laundry detergent.

I will prewash all my fabric...